Hello lovelies, lets have some fun with our nails this weekend!
Usually I like to stick to the basics when it comes to my nails, but I felt like getting crafty today. I’m going to show you how to get the tie-dye look on your nails.
What you will need:
1) A small bowl to put water in
2) Scotch tape or similar
3) Tooth picks
4) Nail polish
5) Nail polish remover
6) Cotton balls or cotton squares.
Lets get started!
Step 1: Paint your nails a light color, such as white or something close. I used SEPHORA by O.P.I from the “Urban Ballerina Collection.” This color is no longer available on the SEPHORA website, but they do have a ton of really great nail kits. If you want to get fancy with your nails you have got to check it out! A similar color is Ballet Slippers by Essie.
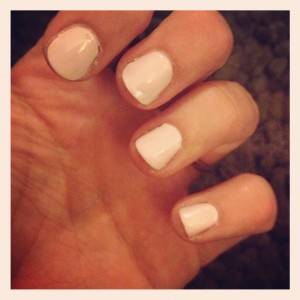
Step 1
Step 2: After your nails are dry you will tape around your nail. The tape will act as a barrier against the nail polish, in places you do not want it. It makes cleanup much easier. You can use regular scotch tape or any other kind of tape that you have handy.
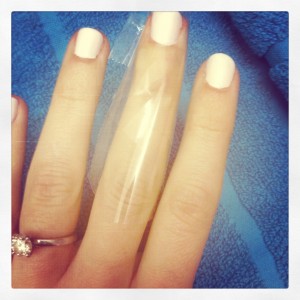
Step 2
Step 3: Grab the nail polish colors that you want to use to tie-dye your nails. I only used three different colors, but you can use more. I used Deeply In Love by O.P.I, La Paz-Itively Hot
 by O.P.I, and Panda-Monium Pink
 by O.P.I
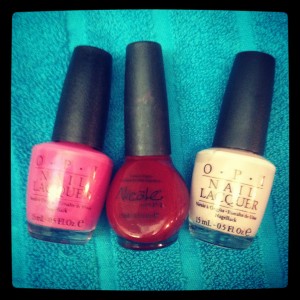
Step 3
Step 4: Get your small bowl of water and fill it 3/4 of the way with room temperature water. Unscrew all of the caps on your nail polish now, so that you can get to it faster.
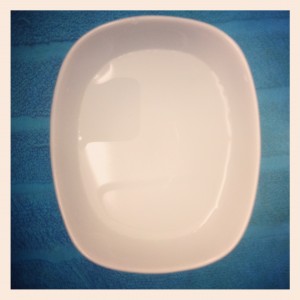
Step 4
Step 5: You’re going to want to do this part quickly, because the nail polish is going to start drying due to it being in the water. Take your first color and put a drop of it in the water, then a drop of your next color on top of the first, and so on. There really isn’t a wrong way to do this color wise, just makes sure it looks kinda like a dart board, circles within circles. I did Deeply In Love, La Paz-Itively Hot, then Panda-Monium Pink. I repeated this cycle, for a total of six drops of nail polish.
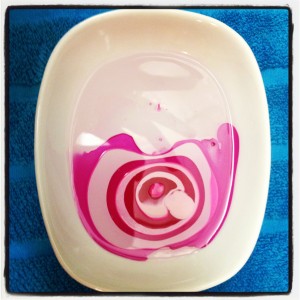
Step 5
Step 6: Grab your toothpick and blend the colors a bit, making the tie-dye look. Again, there really isn’t a wrong way to do this…just don’t get carried away or it will end up looking like a big ol’ blob.
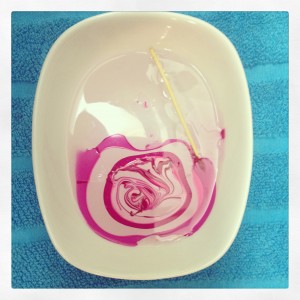
Step 6
Step 7: Stick your finger in the water close to your nail polish tie-dye. Bring your nail to the outside ring of the nail polish and then “scoop” the nail polish up so the design you made will lay flat on your nail, rather than getting all mushed together. Think of it as diving under one of those round doughnut floaties in a pool and coming up through the middle. You can do two fingers at a time if you want, I just stuck with doing one at a time.
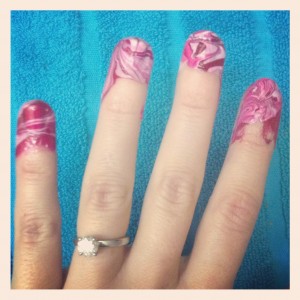
Step 7 & 8
Step 8: After you have completed one full hand you can remove the tape.
Step 9: Begin clean up with your nail polish remover and cotton squares.
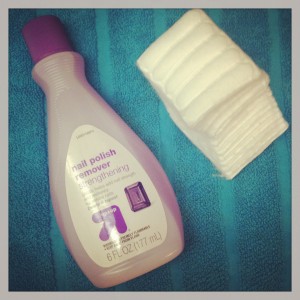
Step 9
Repeat steps 3 - 9 on your other hand.
BAM! You’re done and one stylish hottie at that!
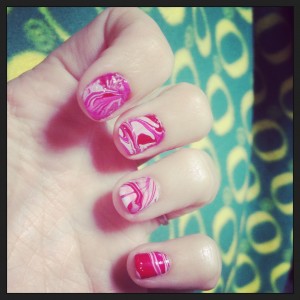
Done!
Don’t get discouraged if you have to try this a couple times, before you get the hang of it. I tried several times, but didn’t give up and I was happy I didn’t, because the end result was so stinkin’ cute! If you’re like me and you manage to screw up your beautiful nails you just spent so much time on, I recommend Drip Dry by O.P.I. This helps speed up the drying process. I wouldn’t suggest running out and building a sand castle right after you put the drops on, but it will make it so you feel less helpless, like I feel when my nails are wet.
Make sure that you have plenty of nail polish remover before you start this project, I thought I had enough, but I didn’t. I ended up having to go to Target with my fingers looking like they do in step 8. I decided to take cotton squares with me, and did a quick clean up job on my nails as I shopped. I’m sure people thought I was nuts, but hey, a girls gotta do what a girls gotta do!
Enjoy!
K

Leave a Reply